Looking Up: A Whitewashed Tongue and Groove Ceiling, the Easier Way
Three rooms, two houses, and the one change that made all the difference
Part of Maison du Lac and Domaine des Azalées
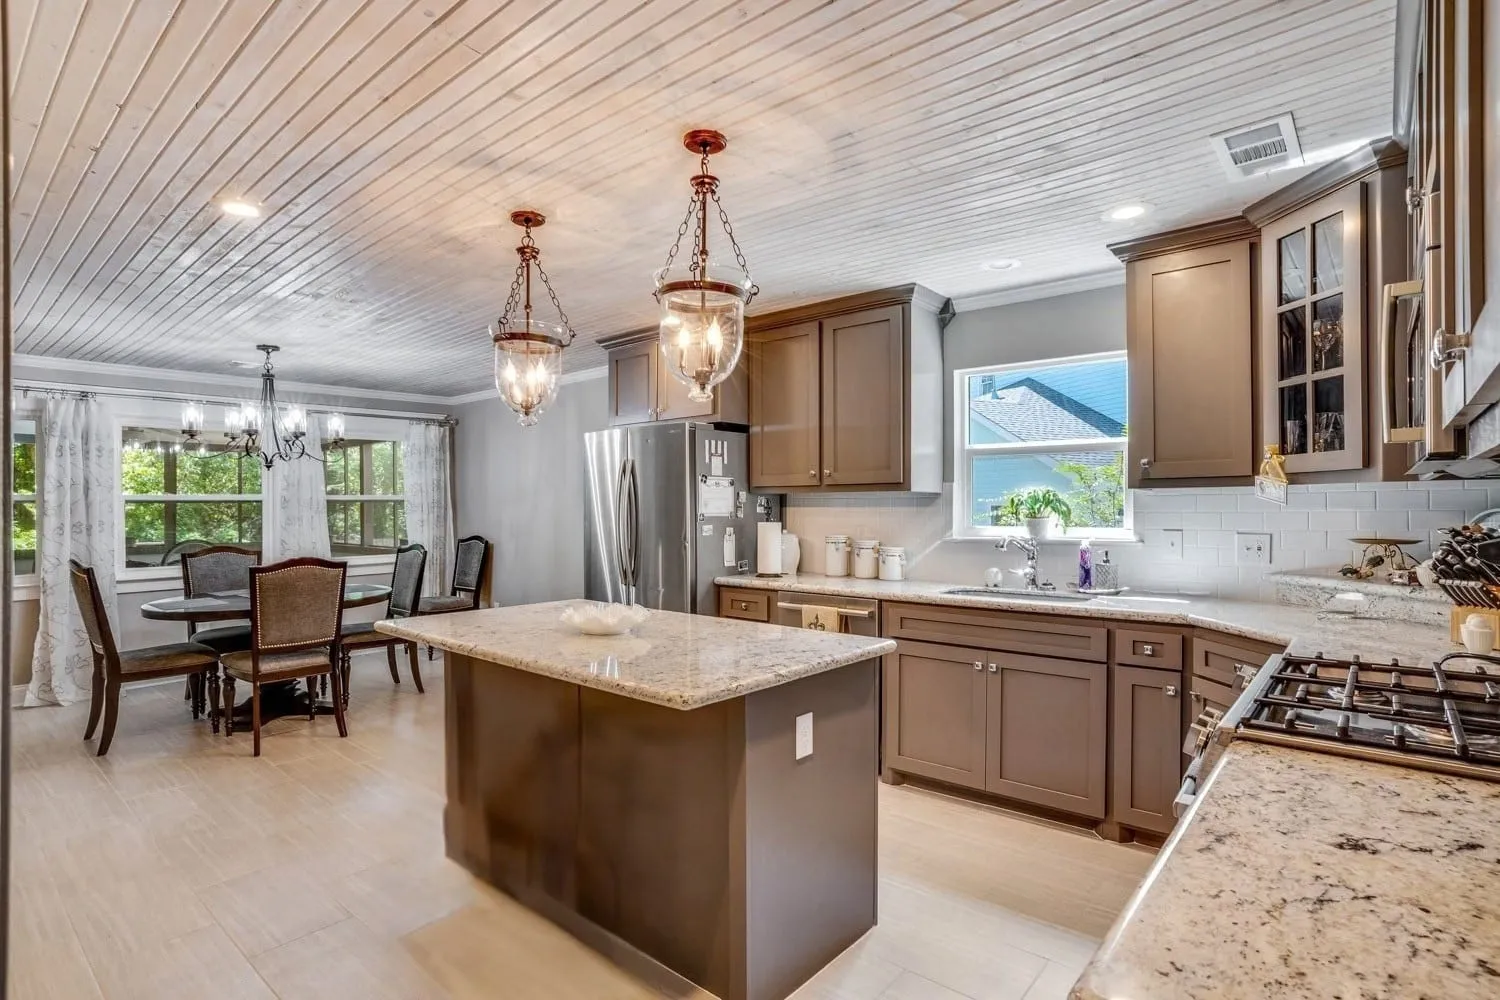
There are a handful of projects I’ve done where I’ve thought: I will never do this again. And then there are the ones where I thought: I will never do it this way again. A whitewashed tongue and groove ceiling is firmly in that second group.
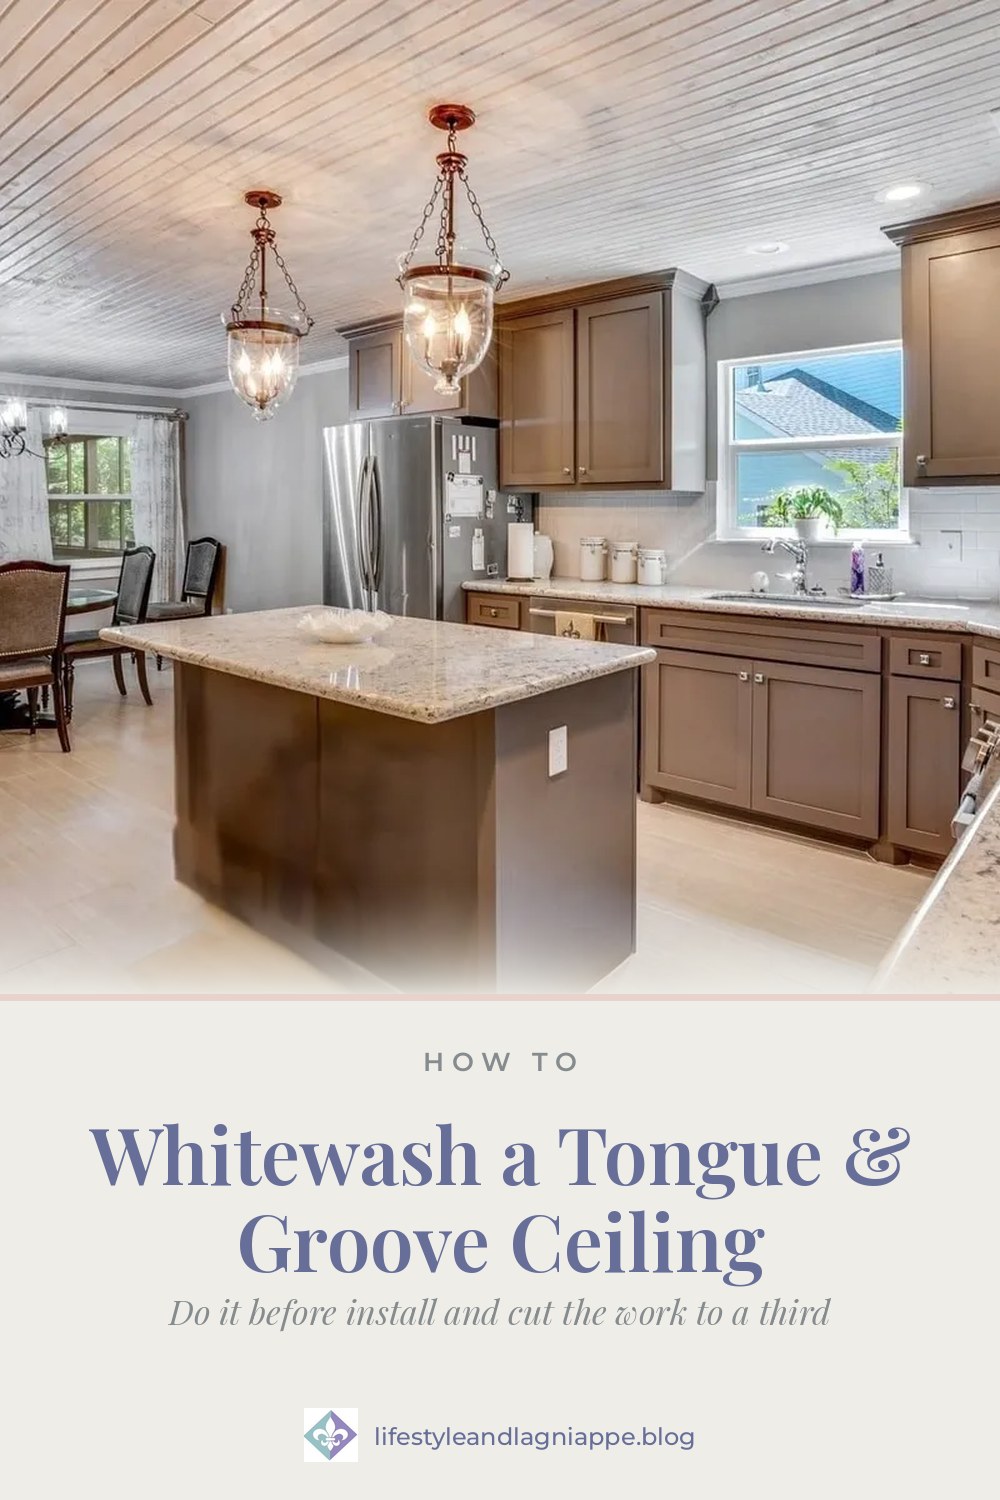
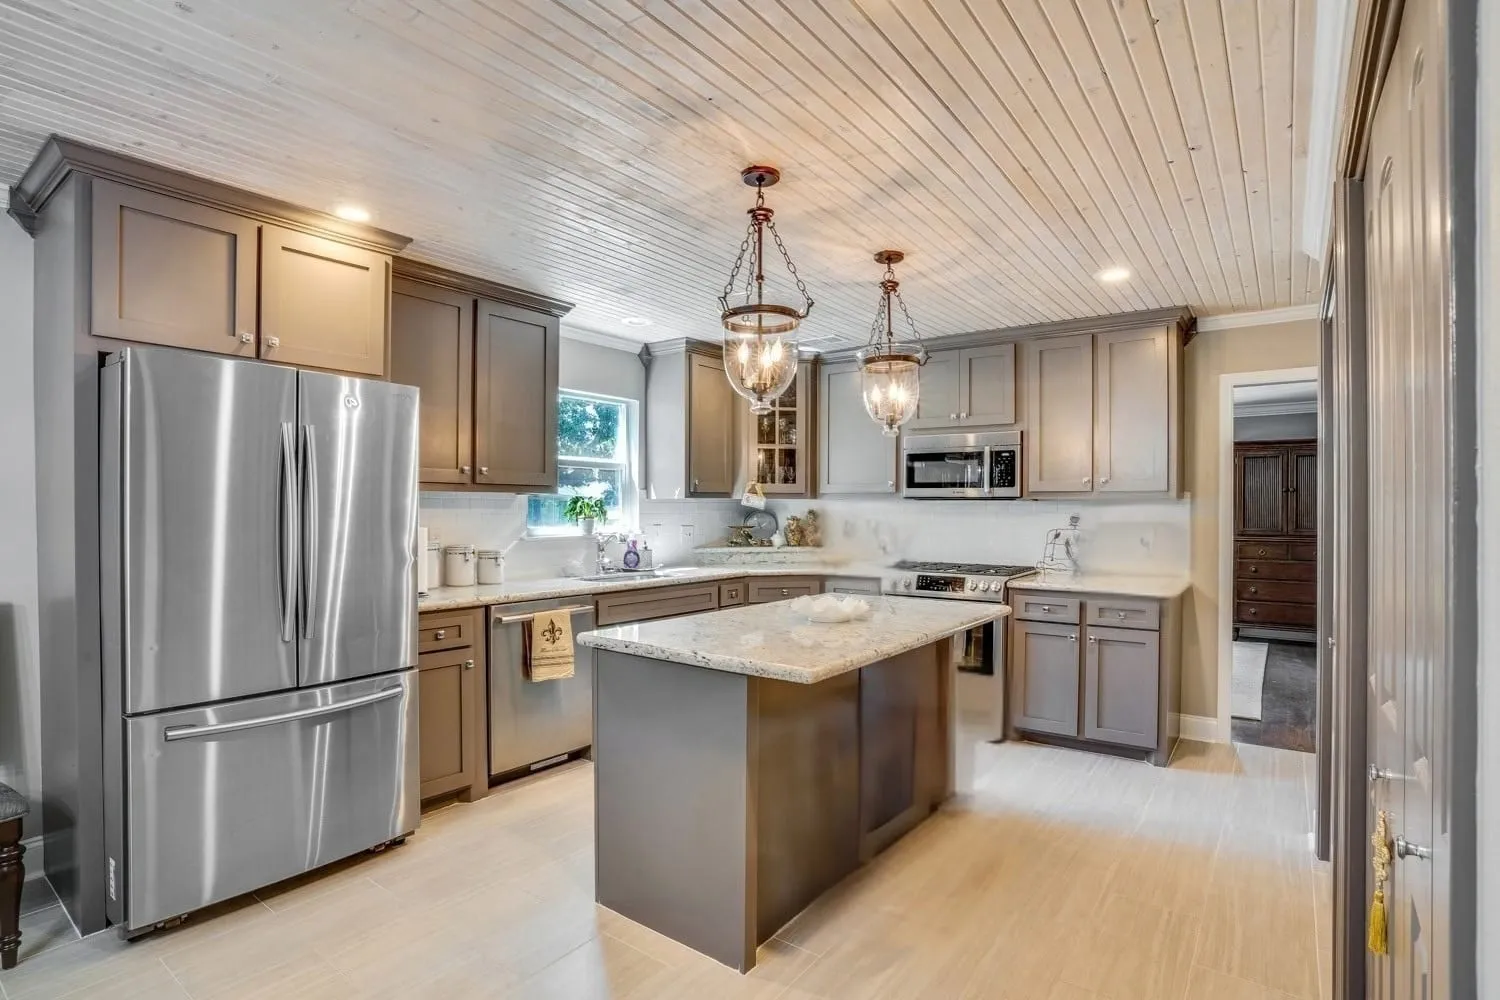
I fell in love with this treatment the first time I used it, in the kitchen at my house I like to call Maison du Lac. A plain eight-foot ceiling became a gorgeous focal point. It brought warmth to the room, added texture without adding color, and made a standard ceiling height feel intentional instead of low. It also contrasted perfectly with the bronze light fixtures I chose for the room. What I did not love was finishing it overhead, in place, with my arms above my head and my neck extended for ten hours. My cousin helped me with this project (and most of the house) and we both felt like we had whiplash afterwards. Occasionally I even felt dizzy. As a hand therapist, I can tell you painting ceilings is not for the weak! It’s also terrible for your neck.
Later, I wanted the same ceiling in the kitchen in my new home. I changed one thing and that one thing changed everything.
Just want the how-to? Jump to the steps.
What I Did the First Time
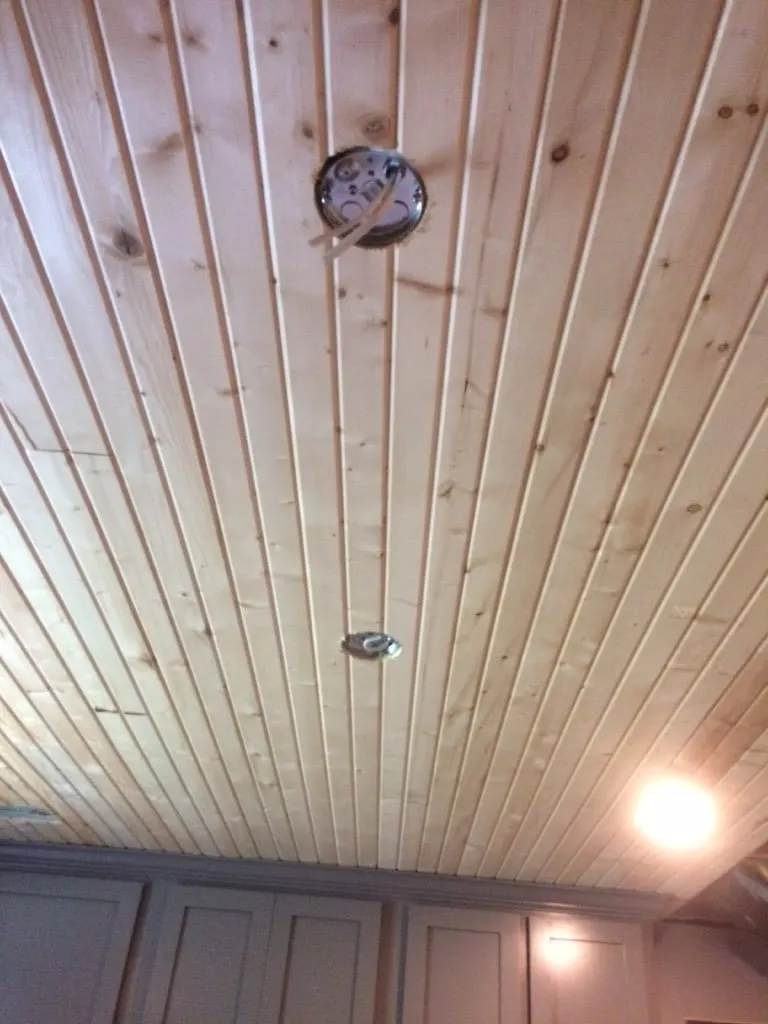
In that kitchen, we installed spruce tongue and groove planks, dusted them with a rag first, and finished them after they were up. My painter recommended an oil-based whitewash, since it was going in a kitchen and needed to hold up to the consequences of cooking. The technique he taught me was to brush the whitewash on and wipe the excess off with a painter’s rag, working in small sections, because it dries quickly. Painter’s rags are a great choice because they are 100% cotton knit and have minimal to no lint. You cannot roll a large area and come back to it. If you do, you lose the grain, and the grain is the entire point.
I budgeted about eight hours of labor to whitewash that ceiling in place. It took two of us, my cousin and me, ten hours each. Twenty hours, on work platforms, looking up. I’m a hand therapist by day and have a lot of knowledge about modifying activities to reduce strain on joints. I tried changing the height of my work platform, changing my angle, using different brushes to increase my speed, anything and everything I could think of that might help. But nothing really made it easier.
The end result was beautiful and I loved it, but there had to be a better way!
The Lesson
Paint the wood before it goes up.
That’s it. That’s the whole lesson, and it is worth more than anything else I can tell you about this project. Cleaning and finishing the boards flat, at waist height, in good light, with gravity working with you instead of against you, is a completely different job than finishing them over your head. You can see what you’re doing. You can wipe consistently. You can walk away and come back without a lap mark waiting for you.
How I Did It the Second Time
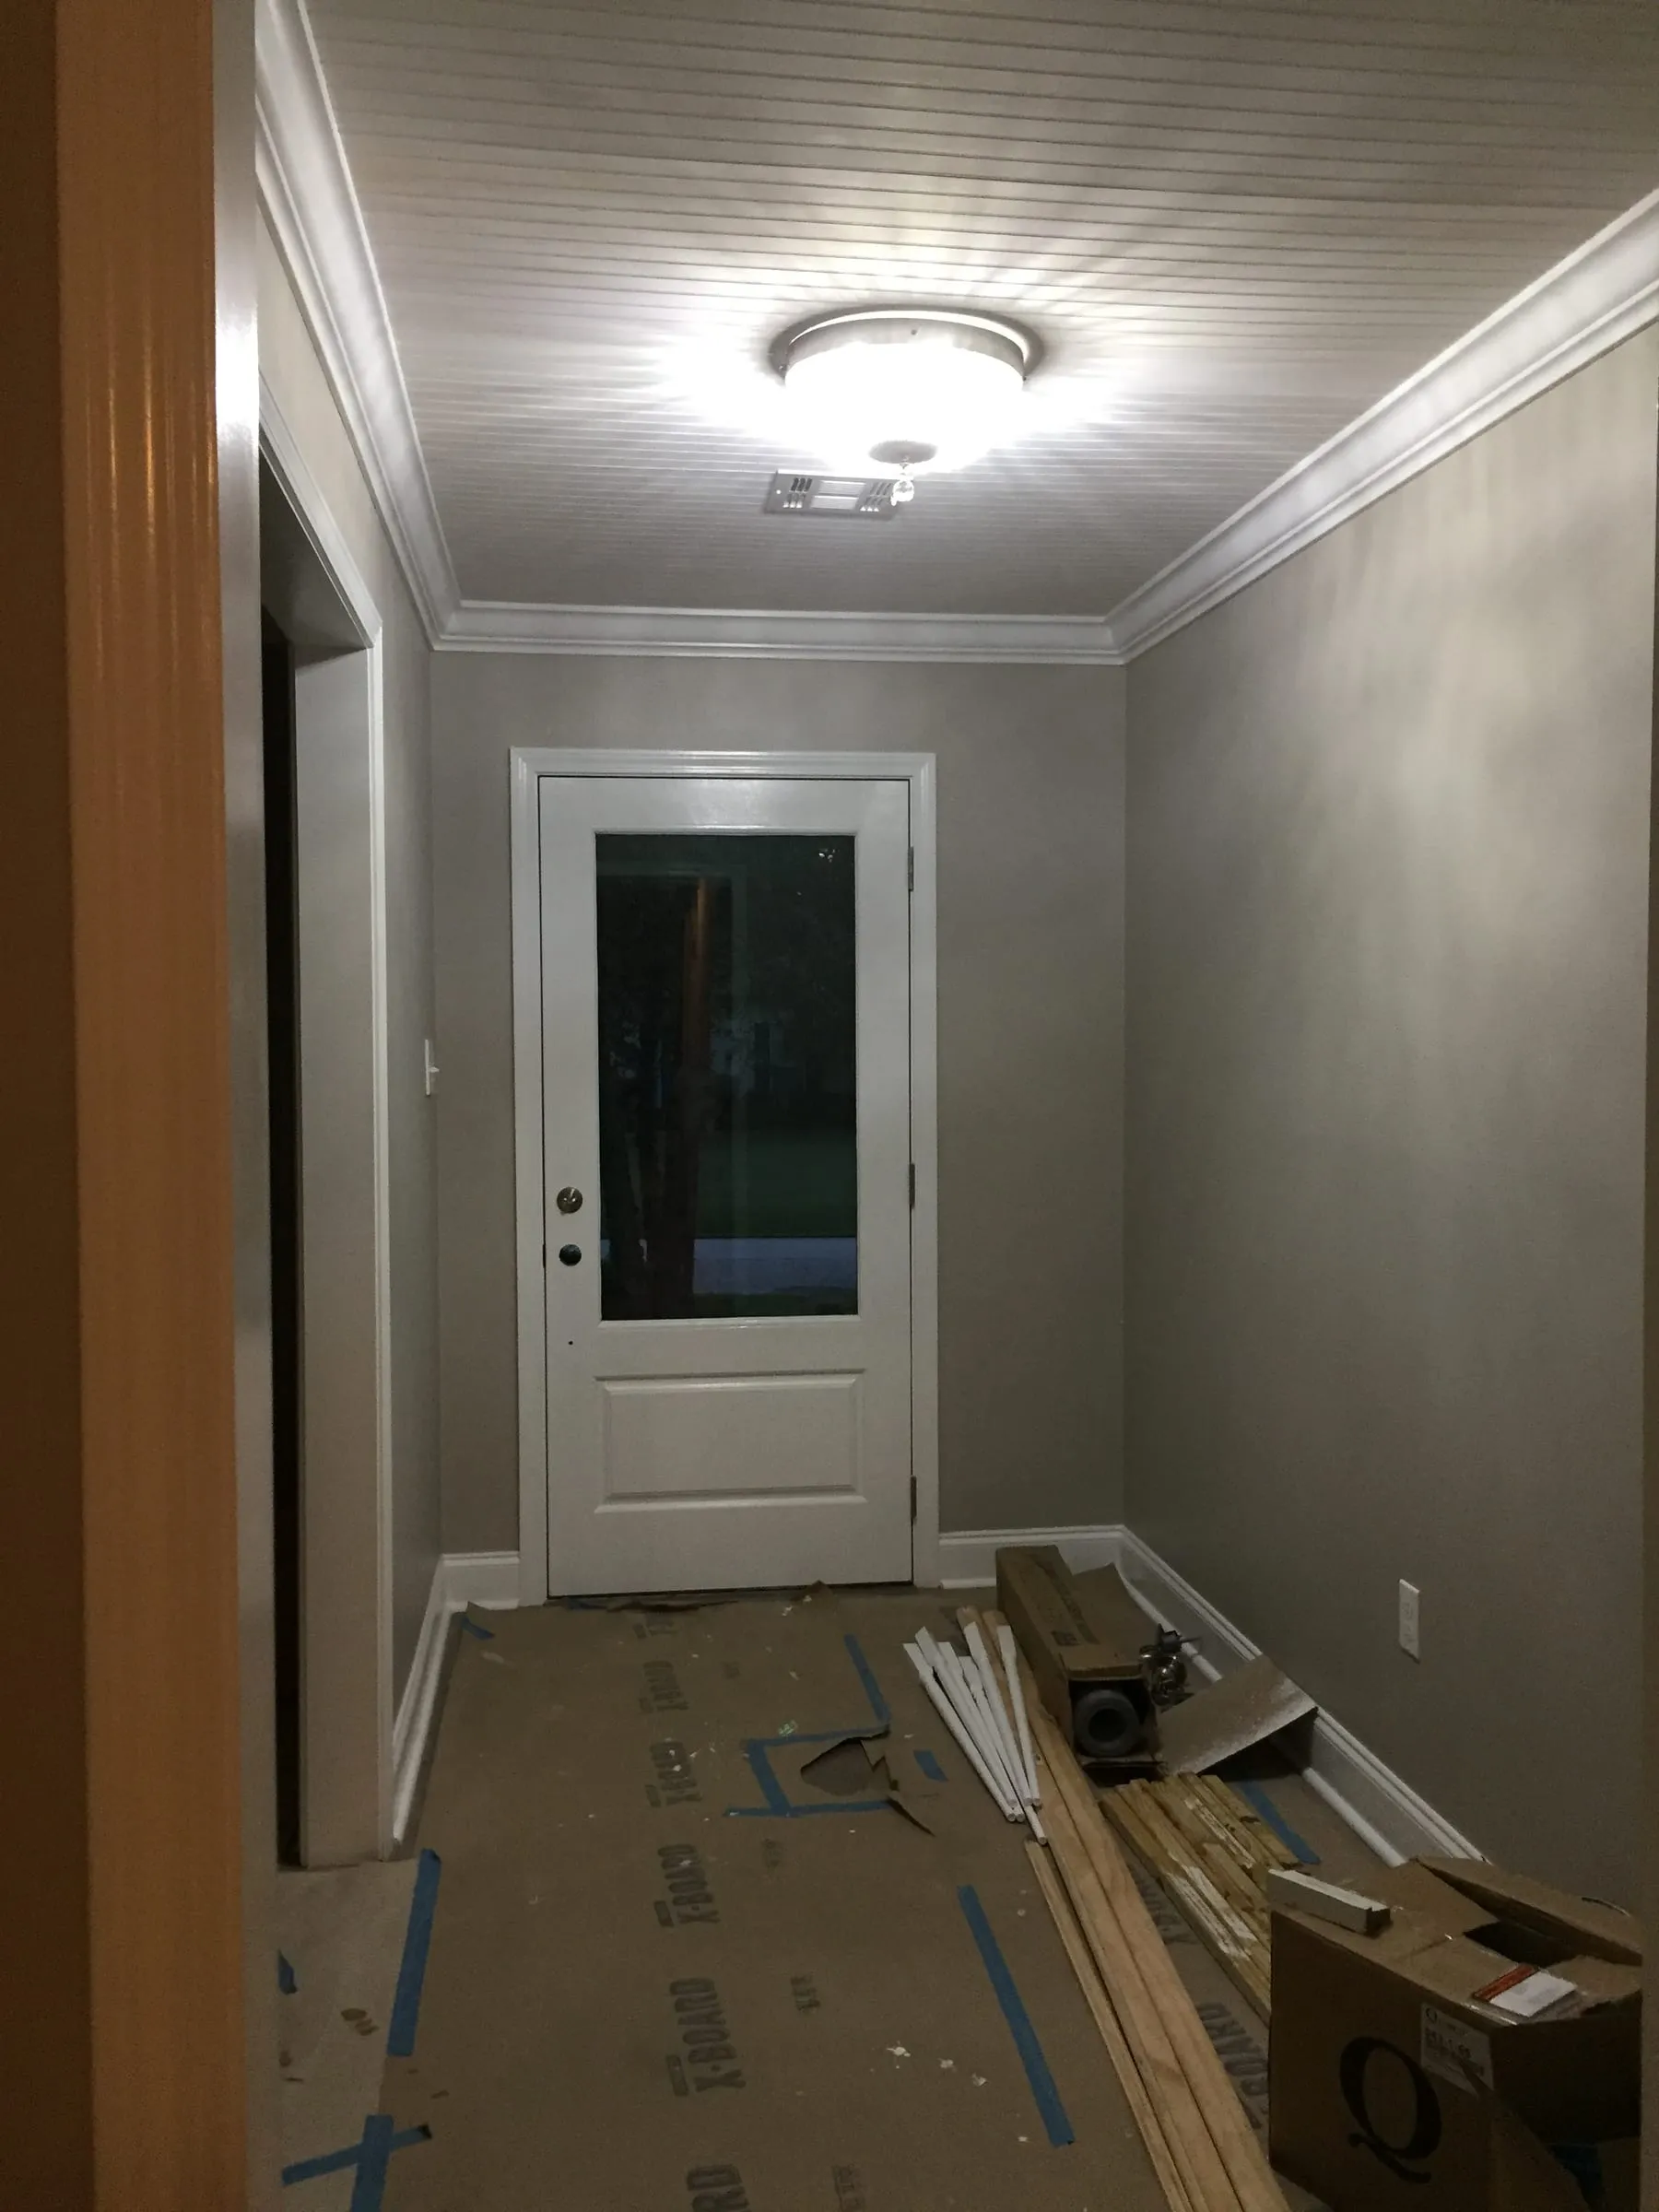
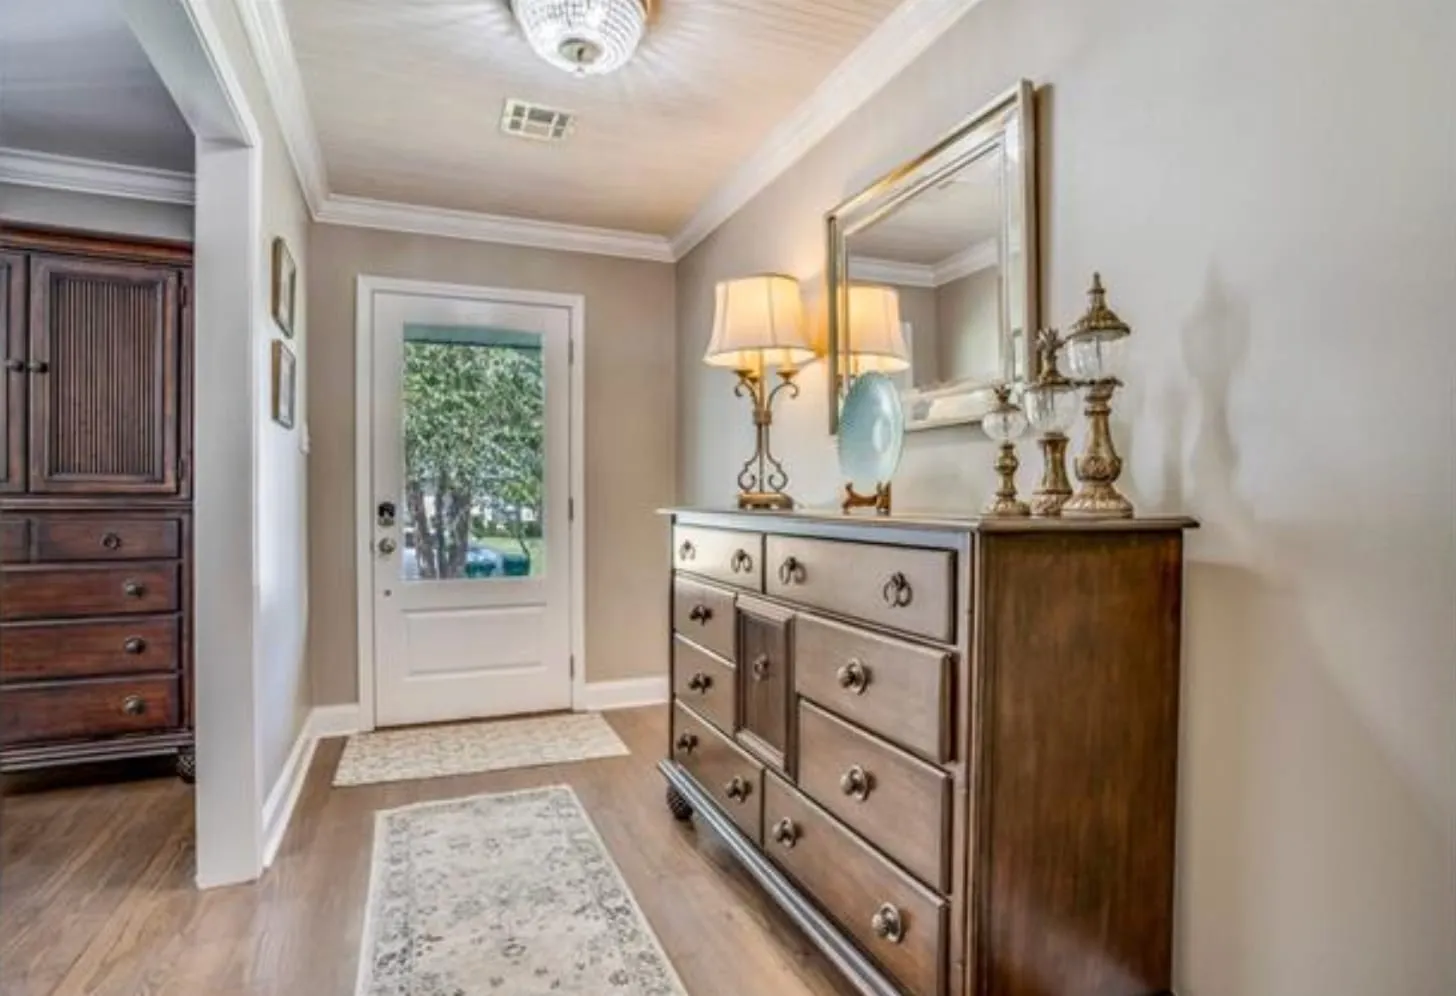
I actually decided to do a similar treatment at Maison du Lac in the foyer. But, the width of this room was perfect to use beadboard sheets. Since it was a much smaller room than the kitchen, I only needed one sheet. This gave me the idea of whitewashing it before it was installed, which was so much easier than individual planks. I ended up cutting the board in half because I wanted the slats to go perpendicular with long wall of the room to give it a cozy and inviting feel. It would have been even easier to have the lines go parallel with the long wall, which makes the room feel longer.
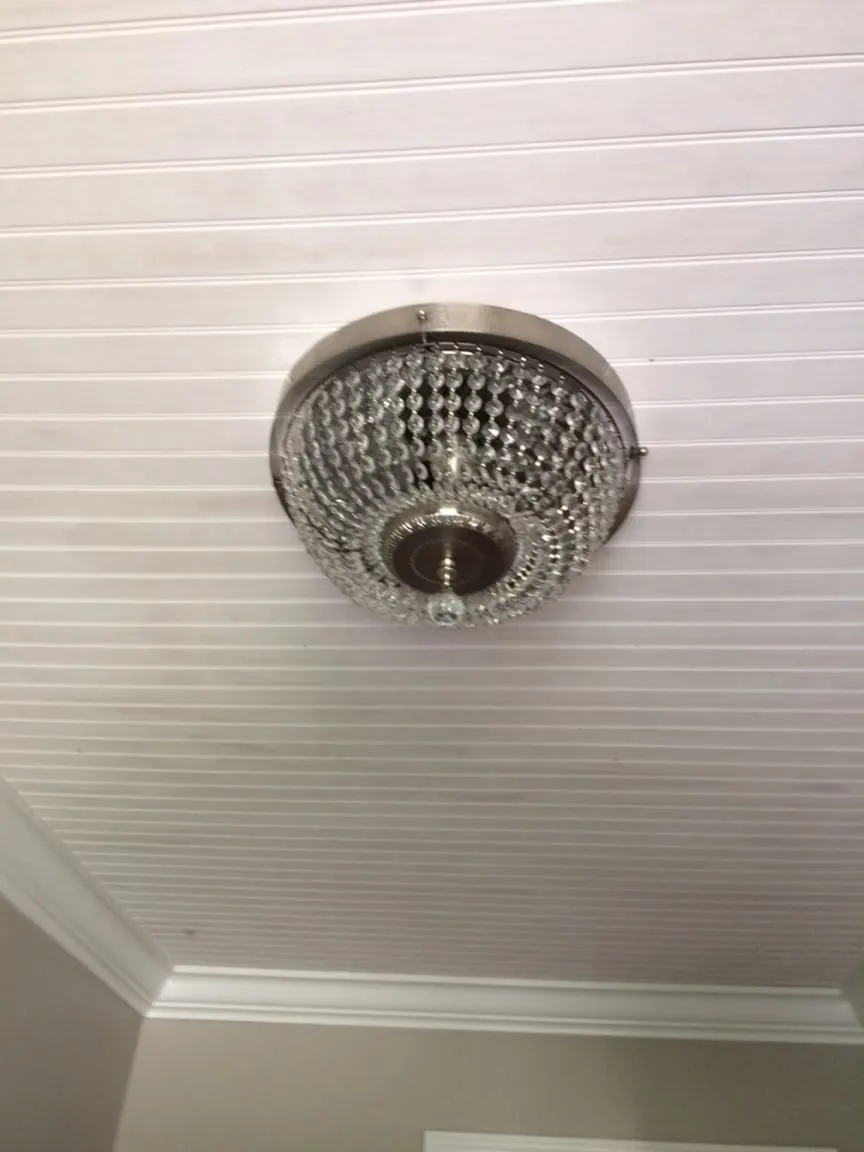
In this room, I used a Behr Marquee Ultra Pure White paint in the Matte finish thinned slightly with water. I was able to lay the beadboard across some sawhorses, clean them with tack cloth, and wipe the paint on with painter’s rags. It dries quickly so be prepared. Because we were covering up sheetrock, we had to mark where the joists were. We used a nail gun to install the boards into the joists and top plate. I had a few touch ups to paint and used white finishing nails on the one seam that we had. This outcome was beautiful and this project was easy on the budget! It gave the room dimension and made it feel custom. Paired with a flush mount light with beaded crystal accents in a brushed nickel finish, it elevated the space and added a touch of luxury.
And the Third Time
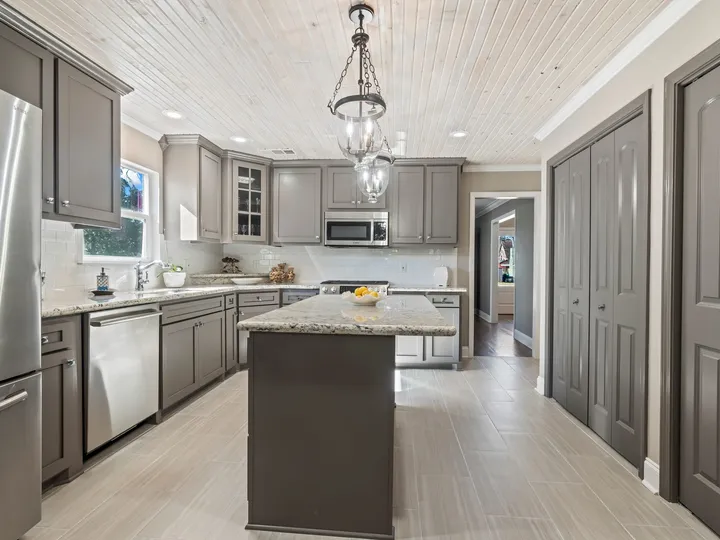
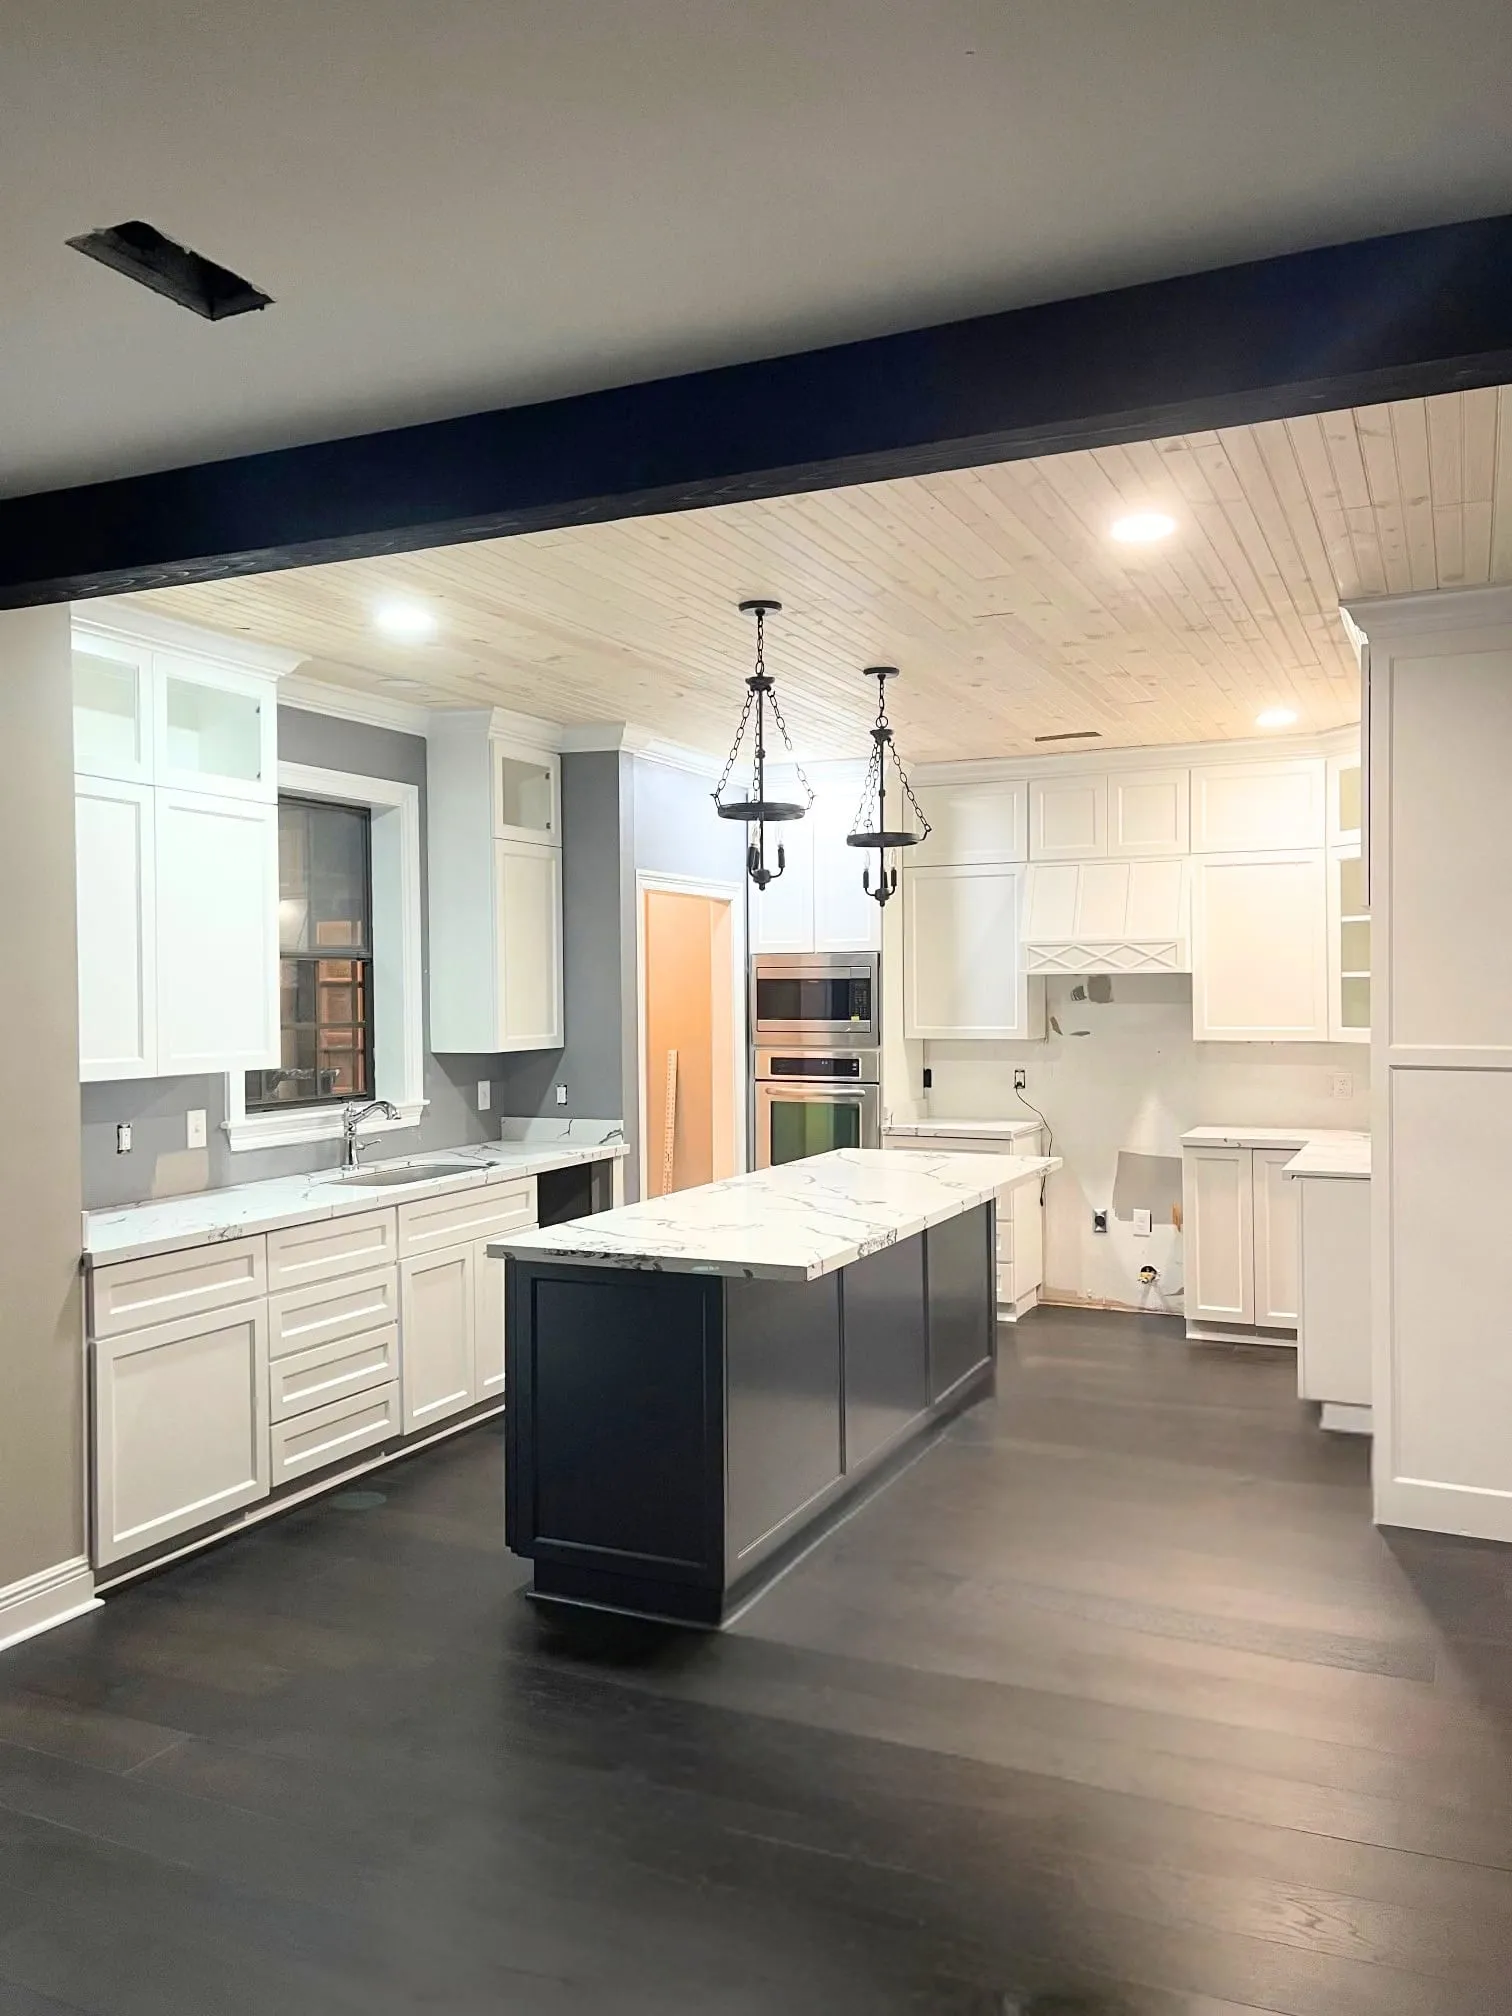
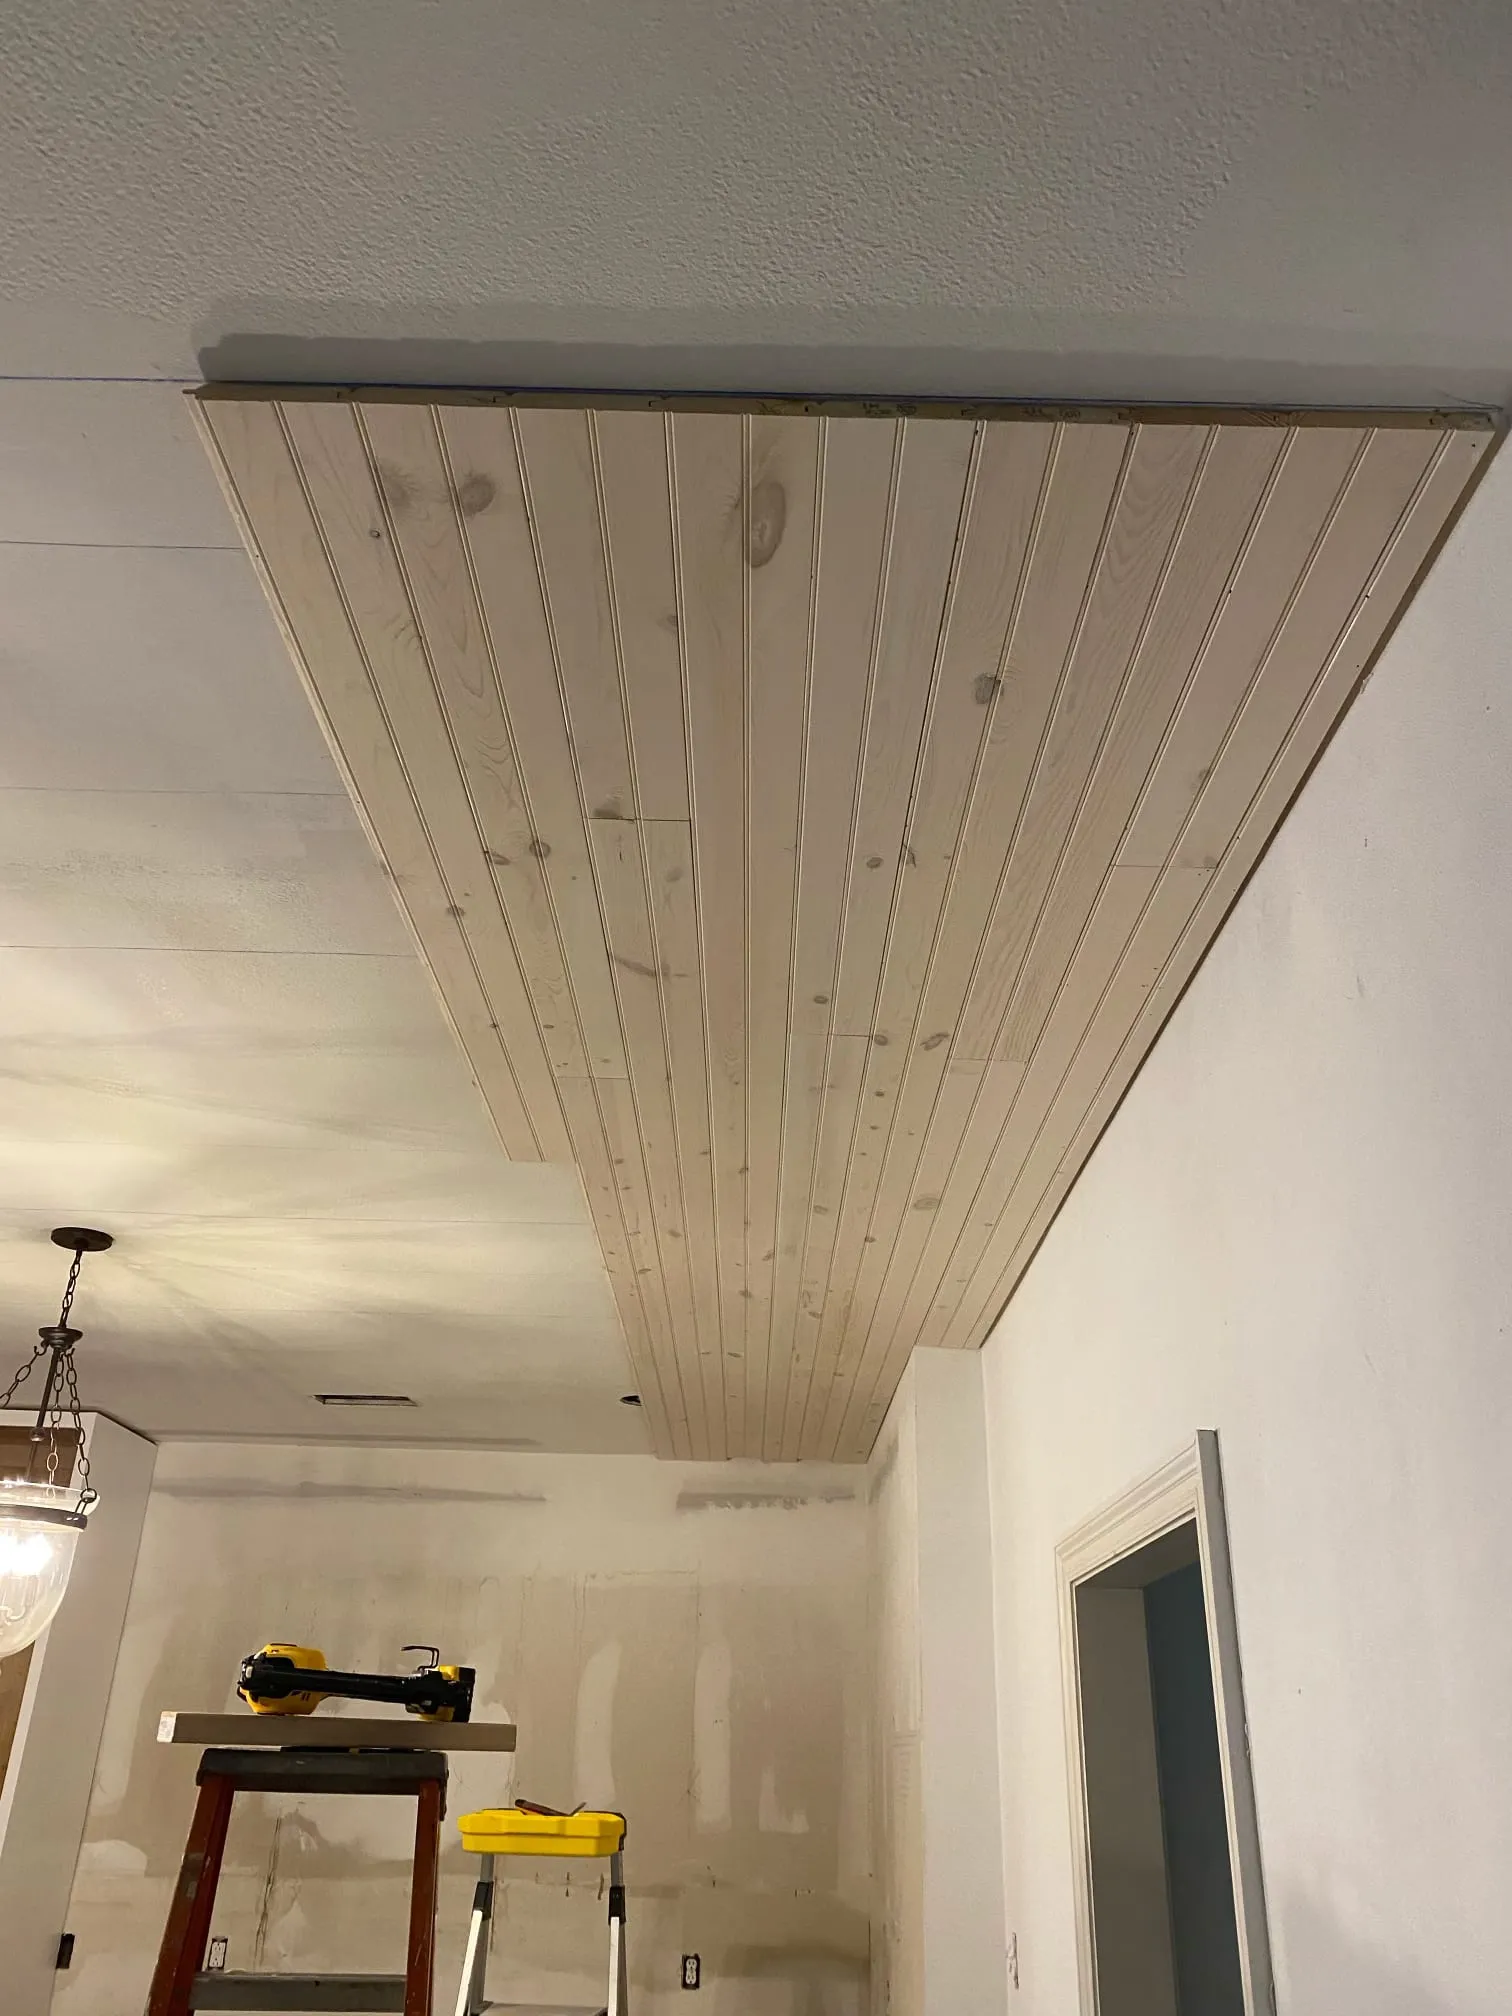
In my new home, Domaine des Azalées, I wanted the same depth and presence in the kitchen. This time, we used pine tongue and groove boards.
The ceilings in this home are 9 feet and the kitchen flows seamlessly into the living room, which was previously the dining room. Because I didn’t want to extend the tongue and groove into the living area, I had to come up with a stopping location. We ended up building a faux beam out of cedar that I stained using Old Masters Gel Stain in Espresso to add a little more depth and contrast. Believe it or not, we got these tongue and groove boards from the same clearance store that the contractor did at our Maison du Lac house. But, you can find them at Home Depot, Lowe’s, or your local lumber store.
For this project, I decided to try Varathane’s Wood Enhancer Whitewash stain from Home Depot. I applied it to a few sample pieces to make sure I was happy with the look. I wasn’t sure at first… the temperature of the whitewash was cooler and more white than in the first kitchen. But this ended up being perfect because the colors in this home were cooler grays, whites, and blues.
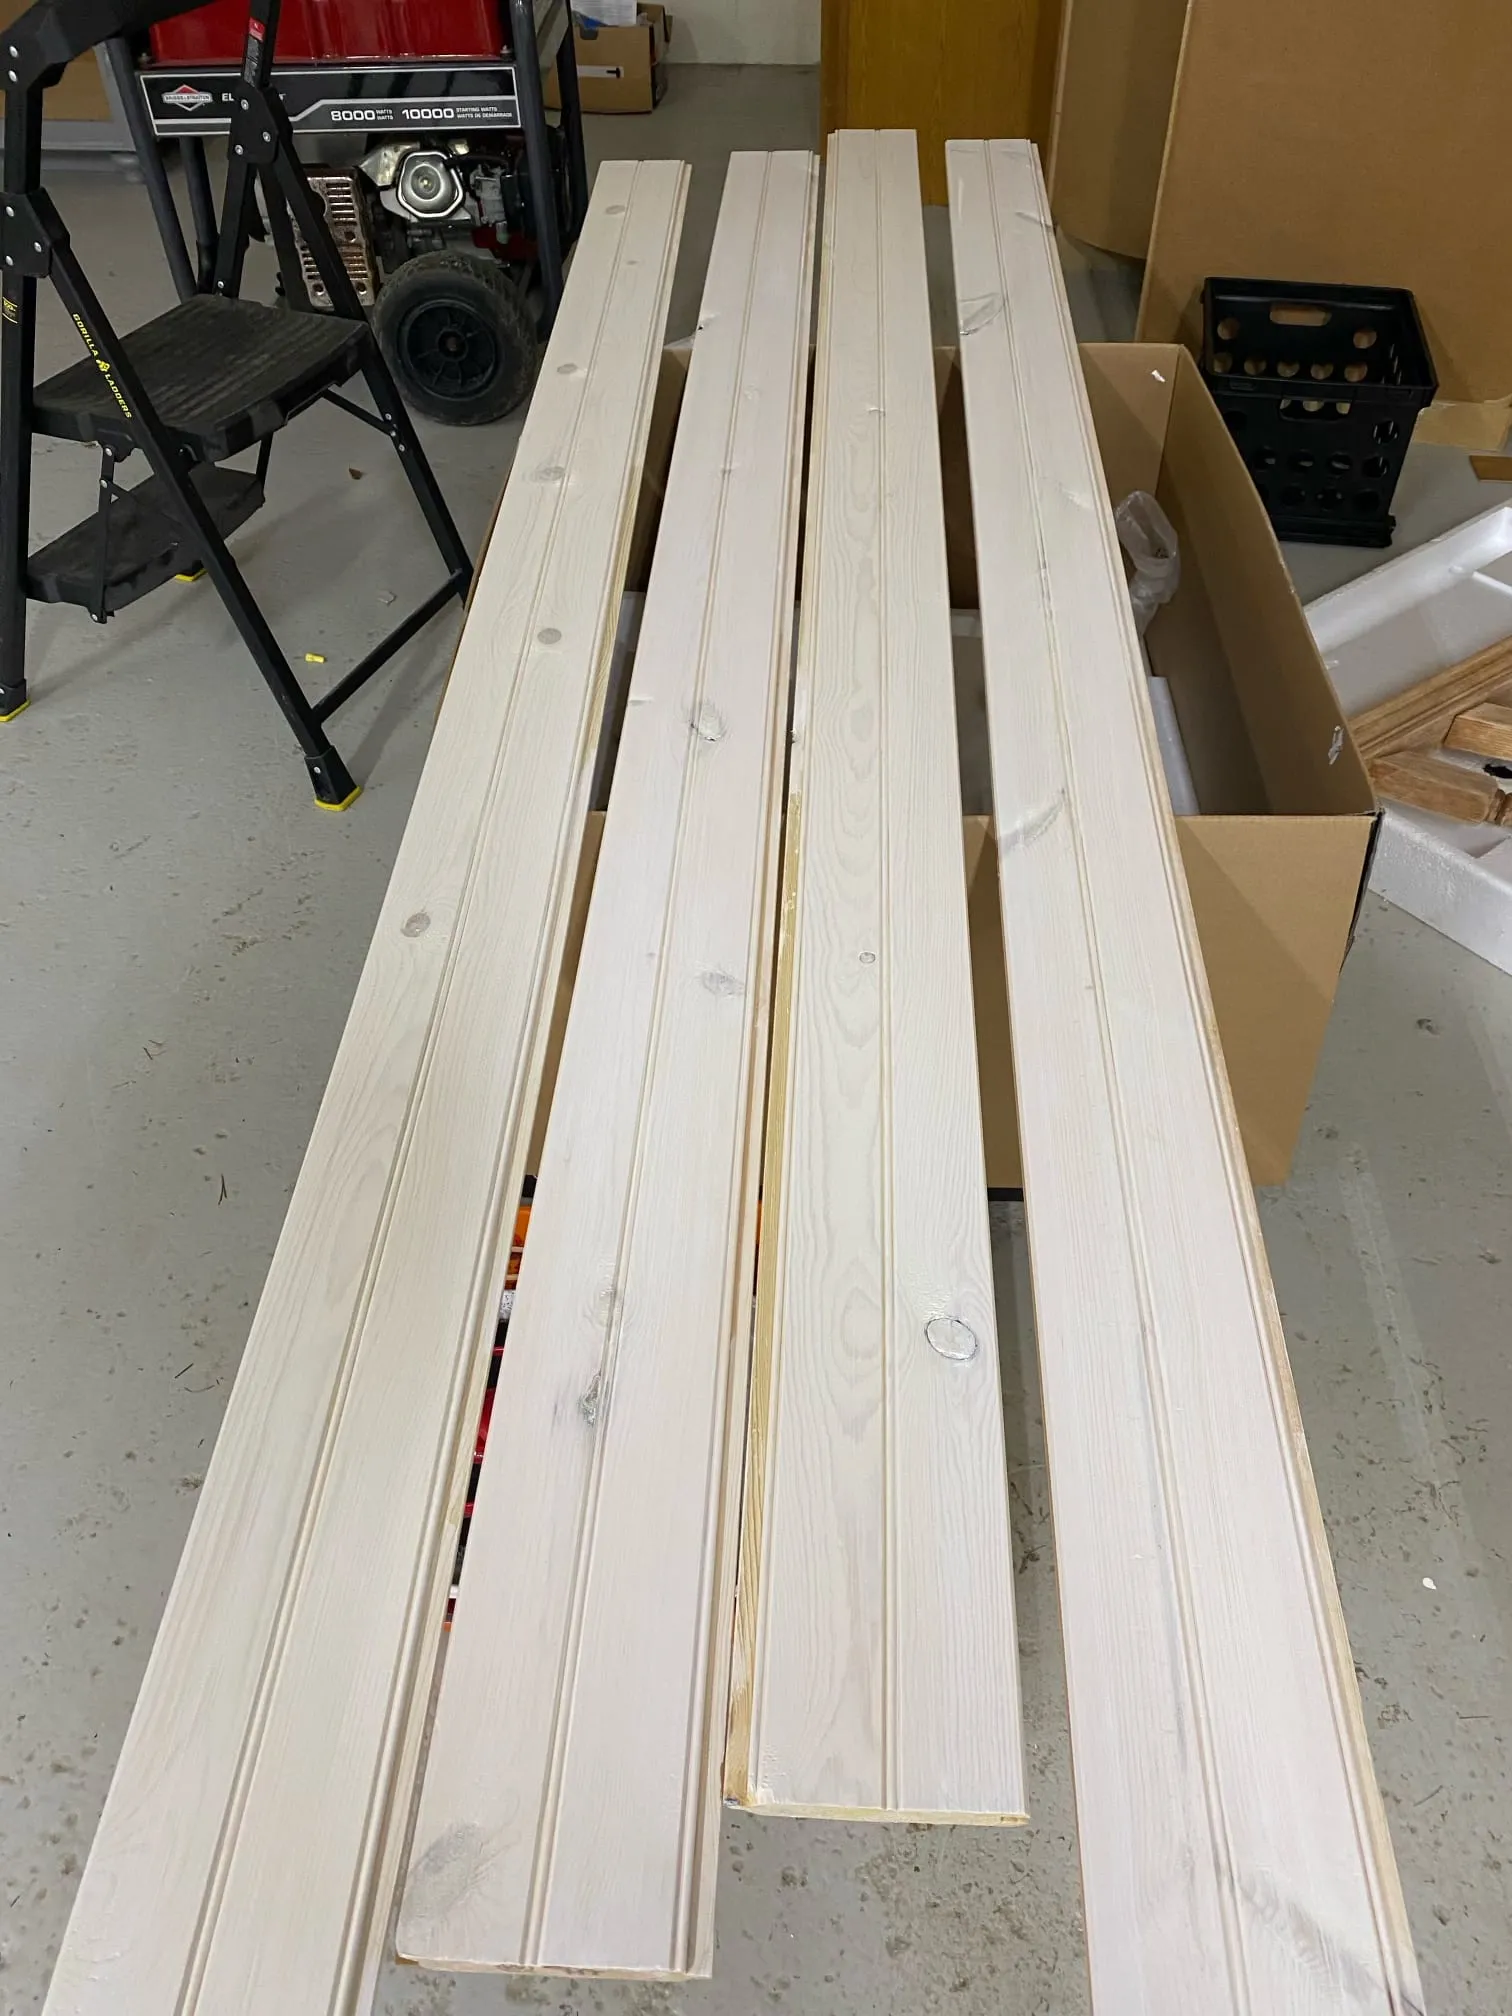
A lot of tongue and groove boards have different patterns on each side. I originally planned on using the uniform side, but after applying the stain, I preferred the side with the small center groove giving the appearance of two boards in one. Once I knew I was moving forward with this product, I set up my workstation in our shop.
Our new home has a large shop, so I set up my workstation there to minimize dust and debris. I laid the boards across two sets of sawhorses and applied the oil-based whitewash with plain painter’s rags, working in batches of three. After about 7 hours working alone staining and moving boards, I was finished. I’ve broken down my exact process in the steps below if you want to follow along.
These planks were also installed over sheetrock, so we had to figure out where the joists were. As in the Maison du Lac kitchen, we installed the boards parallel with the long wall of the room, which makes it feel larger. The nails are placed at a 45-degree angle on the groove where the pieces fit together, so there’s no touch ups required. The install is hard on your neck no matter what, but still faster than the painting. You also make cuts occasionally, so you get breaks from looking up. The pre-finished boards went in one at a time and the work was done. There were no issues with the cut ends showing. It saved hours of back, I mean, neck-breaking work! The result is beautiful, timeless, and adds depth and dimension to the heart of this home.
Steps to Whitewash a Tongue and Groove Ceiling Before Install
-
Set Up: Clear a space where dust and debris won’t be a problem. I used our shop. Spread painter’s plastic on the floor to protect against spills and drips, then space out two sets of sawhorses on top of it. Lay your first planks across the sawhorses, making sure they’re supported about ¼ of the way in from each end. Before you begin, prepare multiple areas where the boards can dry once they’re finished. I used everything I had, from paint cans to storage boxes!
-
Clean and Prep: Wipe each board with a tack cloth to make sure it’s clean before you apply the stain, so no dust ends up in the finish. Then test before you commit. I applied the whitewash to a few sample pieces first, which is how I discovered I preferred the side with the small center groove, since it gives the appearance of two boards in one. Choose which side will face the room before you start staining.
-
Apply Whitewash Stain: Stir the stain well, and keep stirring frequently throughout the project so you get the most uniform appearance. Using a plain painter’s rag, wipe the whitewash onto each board, working with the grain. If you’re applying the stain with rags, wear gloves to protect your hands. I stained three boards at a time, then moved to my second set of sawhorses for the next batch.
-
Allow to Dry: Once the second batch is done, carefully move the first batch to its drying spot, lifting each board from underneath with two hands close to the center and balancing it as you walk. Lay the boards flat to dry. The whitewash needs about 1 hour before it can be recoated, but I only needed one coat. Allow the boards to cure for a full 24 hours, and then they’re ready to install. All told, staining and moving the boards took me about 7 hours working alone. Then close up your leftover stain and dispose of your rags safely.
You are now ready for install: Your boards are finished and fully cured, so all that’s left is getting them up. Because mine went over sheetrock, I found the joists first, then nailed at a 45-degree angle in the groove where the pieces fit together so no touch-ups were needed.
Would I Do It Again?
I’d absolutely use these boards in more design projects. While they are labor intensive and time-consuming to install regardless of when or how the finishing is done, the end result is worth the effort. It provides richness and depth to the room. It is truly a custom feature, making your property stand out if you decide to sell. Whitewashing prior to installation saved a significant amount of time. It was completed in approximately one third to half the time. If you want the look without the labor, sealing the wood in its natural state or simply painting it is much faster and can be rolled or sprayed when up like any other ceiling. Just make sure to get good coverage in the grooves and joints. The grain of the wood is lost with this method, but it is still a classic, beautiful, clean option.
Whether you’re splurging with tongue and groove or going for the budget friendly beadboard option, this is a project that can be done in 1-2 weekends and changes the entire look of the room. If you’ve tried this project, I’d love to see your before and after pics!
Shop the look
What I Used, Room by Room
The wood, whitewash, and supplies for each of the three ceilings. Items marked Similar are close matches, not the exact piece I used.
Maison du Lac Kitchen
- Wood
- Spruce tongue and groove planks, 1 in. x 5 in. x 12 ft. (Home Depot)or a local lumber yard
- Whitewash
- Custom oil-based whitewash, mixed by our painter
- Rags
- HDX Painter's Rags Box (Home Depot)
- Nailer
- DeWalt nailer
- Lighting
- Kichler Diana 6-Light Chandelier in Olde Bronze
- Gracie Oaks Aale 3-Light Matte Black Statement PendantSimilar (Wayfair)
Maison du Lac Foyer
- Wood
- Beadboard, 8 ft. x 4 ft. sheets (Home Depot)or a local lumber yard
- Whitewash
- Behr Marquee Ultra Pure White in Matte, thinned slightly with water (Home Depot)
- Rags and Tack Cloth
- HDX Painter's Rags Box (Home Depot)
- HDX 18 in. x 36 in. Tack Cloths (Home Depot)
- Lighting
- Hampton Bay 14 in. 3-Light Brushed Nickel Flush Mount with Crystal Accents (out of stock)
- Trans Globe 9778 Three-Light Flush Mount Ceiling Fixture, 8374ASSimilar (eBay)
- Vrbgify 3-Piece French Empire K9 Crystal Flush Mount, 12.6 in. x 8.27 in.Similar (Lowe’s)brass rather than brushed nickel
- Edvivi Alyvia 12 in. 3-Light Antique Black Glam Flush Mount with Crystal StrandsSimilar (Lowe’s)black rather than brushed nickel
The original is discontinued; the three below are the closest I have found.
Domaine des Azalées Kitchen
- Wood
- Pine tongue and groove boards, 1 in. x 6 in. x 12 ft. (Home Depot)or a local lumber yard
- Whitewash
- Varathane Wood Enhancer Whitewash stain (Home Depot)
- Faux Beam Stain
- Old Masters Gel Stain in Espresso, for the cedar faux beam
- Rags and Tack Cloth
- HDX Painter's Rags Box (Home Depot)
- HDX 18 in. x 36 in. Tack Cloths (Home Depot)
- Nailer
- DeWalt nailer
- Lighting
- Gracie Oaks Aale 3-Light Matte Black Statement PendantSimilar (Wayfair)
Save it for later